A warm, practical guide to the 60-30-10 color rule, plus room-by-room examples, easy palettes, and common mistakes to avoid.
Havitza Home
Styling Kitchen Open Shelving Like a Pro
Learn how to style open kitchen shelves so they feel curated, not cluttered. Practical layout rules, color palettes, and everyday tips for dishes, plants, and cookware.

Clara Jenkins
Clara Jenkins is a former theater set designer turned interior styling expert with over a decade of experience transforming everyday spaces into beautiful sanctuaries. Through her work at havitza.com, she shares practical styling tips, accessible furniture layouts, and inspiring color palettes to help anyone create a home they truly love.
Published October 17, 2026
Updated October 17, 2026
Open shelving can make a kitchen feel airy, personal, and effortlessly pulled together. It can also turn into a daily game of “where did the matching mug go?” if you do not style it with real life in mind. My set-design brain loves open shelving because it is all about staging: you are building a scene that has to look good from across the room and work smoothly up close.
This guide will help you strike that sweet spot between pretty and practical, so your shelves feel curated, not cluttered.
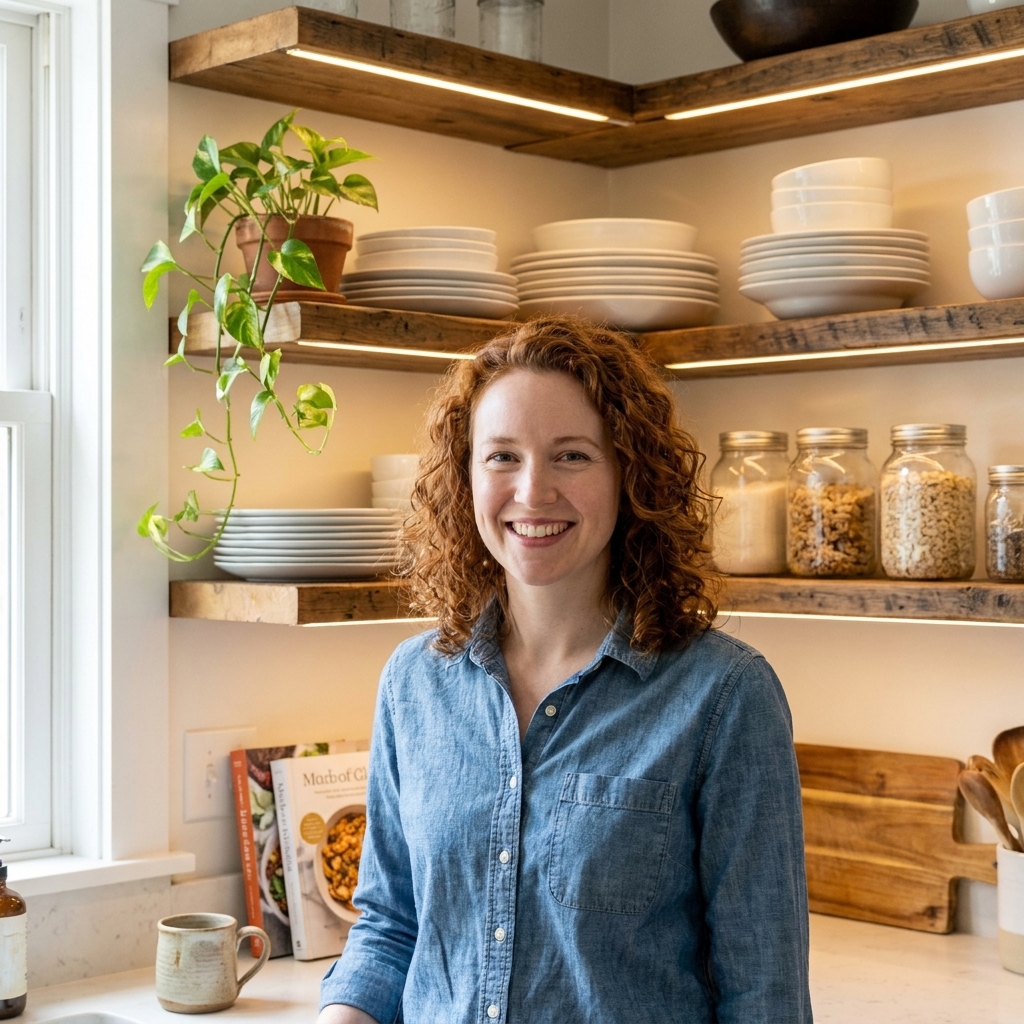
Start with the right mindset
The biggest open-shelving mistake is treating the shelves like a showroom. A kitchen is a working set. The best styling choices are the ones that support your routines: morning coffee, weeknight dinner, weekend baking, snack-grabbing kids, whatever your kitchen actually does.
Three questions to ask first
- What do I reach for daily? Those items deserve the most accessible shelf space.
- What do I want to look at every day? Because you will. Open shelves are visual real estate.
- What can I commit to maintaining? If you hate decanting flour, skip the matching jar fantasy. You can still make it beautiful.
Do a quick shelf reset
I know decluttering is not the glamorous part, but it is the part that makes the “pro” look possible.
Reset checklist
- Empty one shelf at a time so you do not create kitchen chaos.
- Wipe the shelf. Dust and cooking film dull even the prettiest ceramics.
- Edit duplicates. Keep the best version of an item for display, store the rest elsewhere.
- Group by function: coffee zone, everyday dishes, cooking staples, serving pieces.
- Pull out the visual distractions: loud packaging, mismatched plastic, stained cutting boards.
If you need the item but it is visually noisy, you can calm it down later with containers and baskets.
Layout rules that work
When I styled theatrical sets, we relied on a few repeatable principles so a scene read clearly from the back row. Kitchens are similar. You want the eye to move comfortably, without getting stuck on clutter.
1) Leave negative space
Empty space is not wasted space. It is what makes your favorite pieces look intentional. As a helpful starting point, try leaving about 20 to 30 percent of each shelf visibly open, even if it is just a few inches at the ends.
2) Use a height triangle
Instead of lining everything up at the same height, create gentle height shifts: tall, medium, low. A pitcher beside stacked bowls beside a short jar. Your eye reads that as designed, not dumped.
3) Repeat finishes
Pros rarely use a hundred different materials at once. Pick a few and repeat them: clear glass, warm wood, white ceramic, black metal. Repetition is what makes open shelves feel cohesive, even with everyday items.
4) Keep heavy items low
Practical and visual. Dutch ovens, stacks of plates, and big mixing bowls look best and feel safest on lower shelves.
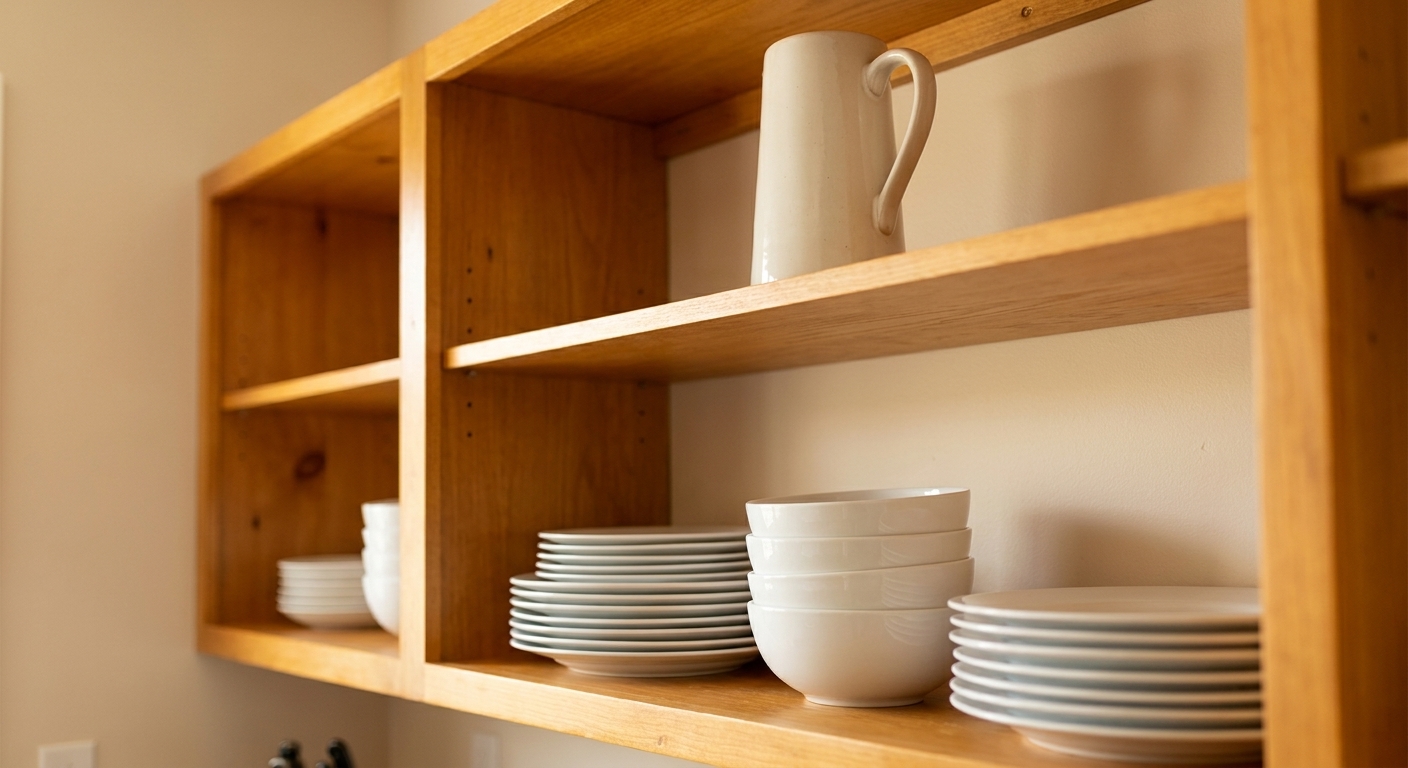
What to show and what to hide
Open shelving works best when it holds things you use often and enjoy seeing. Here is a realistic breakdown.
Best items for open shelves
- Everyday plates and bowls in tidy stacks
- Mugs (keep it to a curated selection)
- Glasses (especially clear glass for an airy look)
- Neutral canisters for coffee, tea, sugar, flour
- Cookbooks (a small, edited row)
- Serving pieces you actually use: a platter, a cake stand, a big salad bowl
- A few plants (choose varieties that tolerate kitchen conditions)
Items that can look messy fast
- Bright food packaging (chips, cereal boxes, snack bags)
- Random small appliances unless you have a cohesive look (cords ruin the vibe)
- Oversized collections (twenty novelty mugs reads as clutter)
- Anything greasy or dusty near the stove
My rule of thumb
If you would not want it photographed on your countertop, you probably will not love it on an open shelf.
Shelf formulas
If you are staring at bare shelves and freezing, borrow a formula. These are simple, repeatable, and easy to maintain.
Formula A: Everyday shelf
- 2 stacks of plates (dinner or salad)
- 1 stack of bowls
- 1 small grouping of glasses or mugs
- 1 “breathing space” zone (leave a gap on one end)
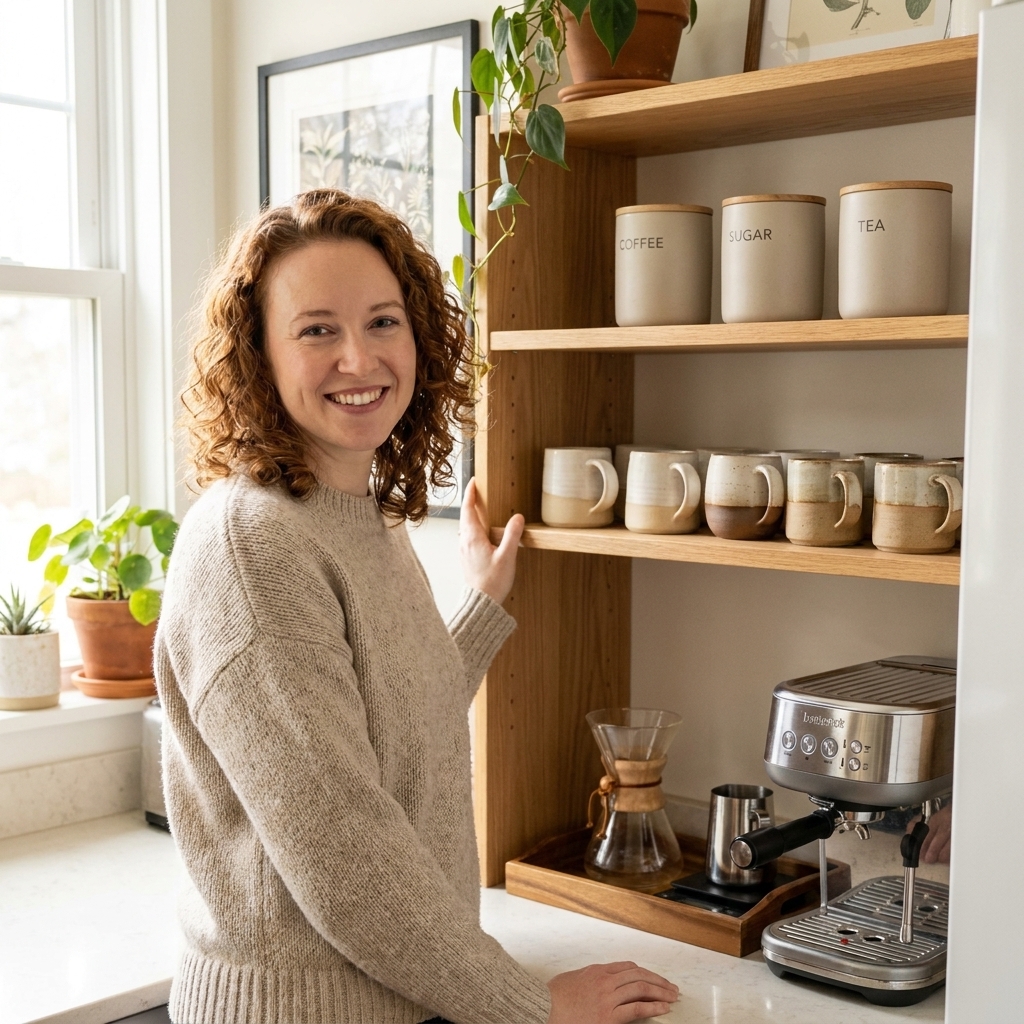
Formula B: Coffee and tea shelf
- Edited row of mugs (often 6 to 10 looks intentional for many households)
- 2 to 3 matching canisters (coffee, tea, sugar)
- 1 small tray to corral stir sticks or sweetener
- Optional: a small piece of art or a framed recipe card you love
Formula C: Pretty utility shelf
- 1 tall vessel (pitcher, vase, olive oil bottle)
- 2 to 3 jars (pasta, rice, baking staples)
- 1 wood element (cutting board or small bowl)
- 1 living element (plant or herbs)
Color palettes
Color is the secret weapon for open shelving. If your palette is calm, the shelf can hold everyday objects without looking chaotic.
Soft and timeless
White ceramic + clear glass + warm wood + a touch of matte black. This is an easy combo to maintain because it forgives minor mismatches.
Cozy vintage
Cream stoneware + amber glass + brass accents + linen textures. Think warm, golden light and that “found it at an antique market” feeling.
Modern earthy
Off-white + olive green + walnut tones + handmade pottery. Add a plant or two and you are in that calm, grounded zone.
High contrast
White dishes + charcoal accents + one bold color (cobalt, terracotta, or forest green). The trick is limiting the bold color to a few repeated pieces.
If your dish collection is already a mix, choose one “peacekeeping” neutral to repeat, like white bowls or clear drinking glasses.
Mixing dishes
You do not need a perfectly matching dish set to have beautiful shelves. You need a plan.
Three mixing strategies
- Shape consistency: Mix colors, keep silhouettes similar. For example, all coupe-style plates.
- Color consistency: Mix shapes, keep the palette tight. For example, all creams and whites across different brands.
- Material consistency: Mix everything else, but keep the finish aligned. For example, all matte stoneware.
Make anchor stacks
Anchor stacks are the steady, repeated elements that signal intention. Usually that is your everyday plates and bowls. Once those look tidy, you can sprinkle in personality pieces like a patterned platter or a handmade mug.
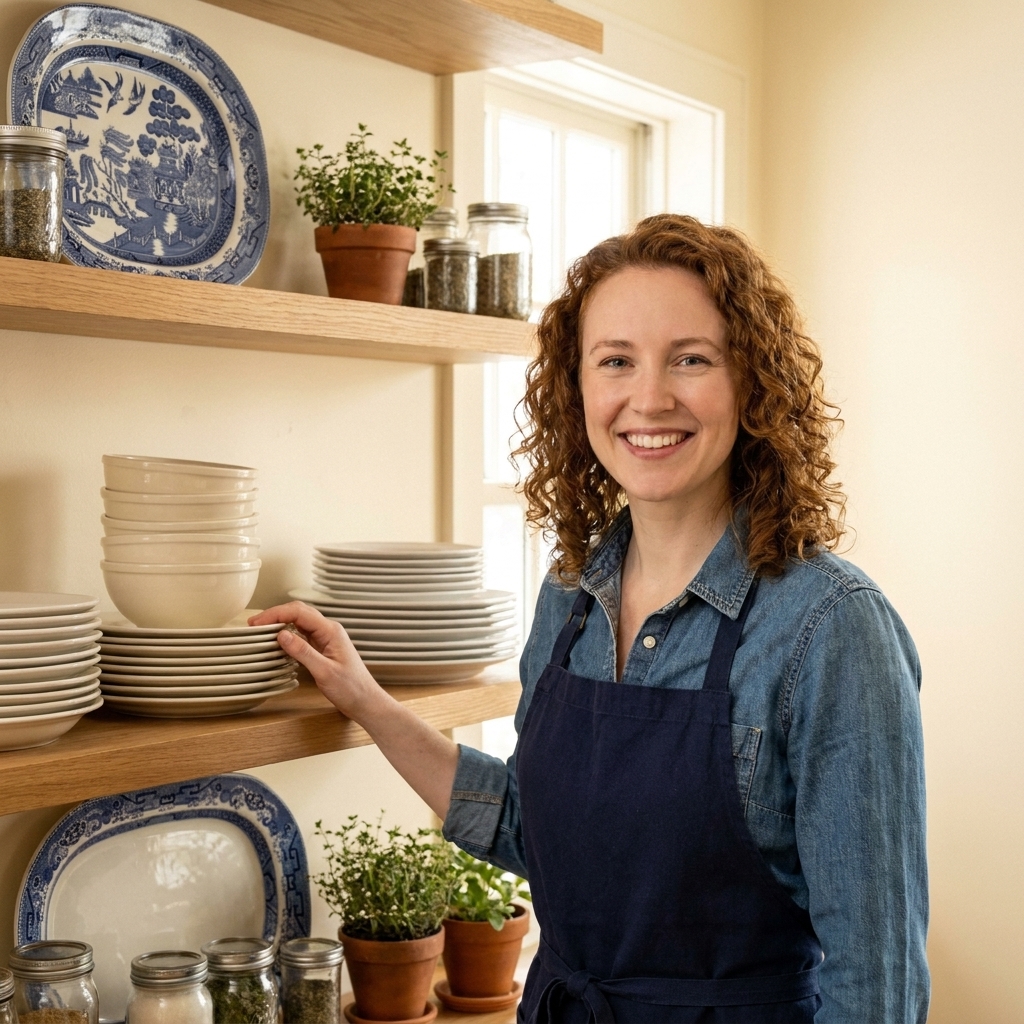
Plants that behave
I love a little green on open shelves because it softens all the hard surfaces. The key is choosing plants that can handle your light and the kitchen environment.
Good shelf-friendly plants
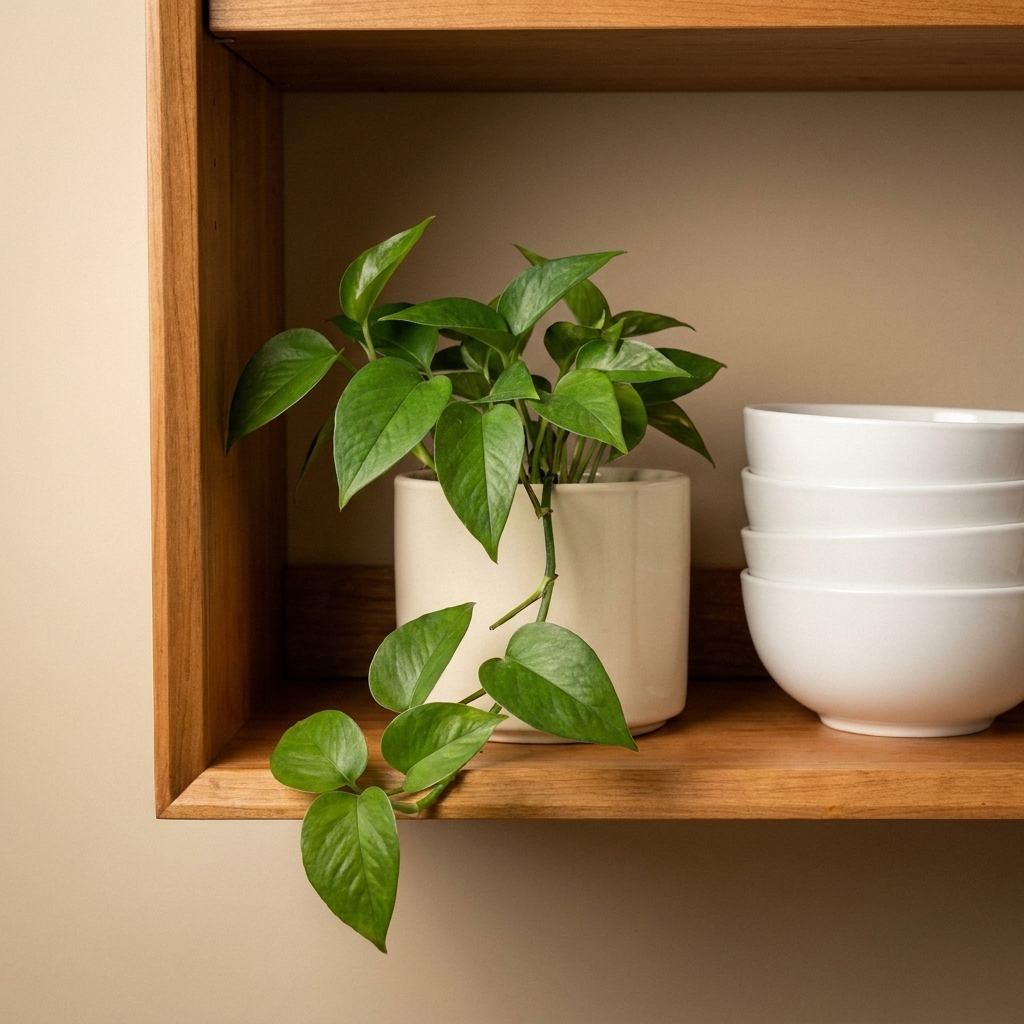
- Pothos for a trailing moment
- Snake plant for low-to-medium indirect light corners
- ZZ plant for resilience in low-to-medium indirect light
- Herbs if you have strong light and actually cook with them
Placement tips
- Keep plants away from direct heat and heavy grease zones near the stove.
- Use a watertight saucer or cachepot so you do not damage shelves.
- Give trailing plants room to drape so they look intentional, not tangled.
Cookware on shelves
Cookware is often the most functional and the hardest to keep visually calm. The secret is editing and grouping.
What looks good on display
- Dutch ovens in a single color family
- Cast iron if it is well maintained
- Copper or stainless pieces with clean lines
- Wood utensils in a crock (on a shelf end, not dead center)
Styling tricks
- Group by material (do not mix every finish on one shelf).
- Stack with purpose: largest pot on bottom, lid propped behind or nested.
- Limit the count: one beautiful pot beats five mismatched ones.
If your cookware is colorful and joyful, lean into it. Just repeat the color twice so it reads as a design choice.
Make it functional
Open shelving should support your kitchen choreography. In theater we called it blocking. In a kitchen, it is simply how you move.
Set up micro-zones
- Near the dishwasher: plates, bowls, glasses so unloading is fast.
- Near the coffee maker: mugs, filters, coffee and tea staples.
- Near the stove: oils, salt, pepper, a small stack of everyday bowls (only if grease is not an issue).
Reach rules
- Eye level: items you use daily and want to see.
- Lower shelves: heavy dishes and cookware.
- Upper shelves: lighter, less-used items, pretty serving pieces, or a few decorative objects.
If kids are in the mix
Keep breakables and sharp tools above kid height, and make the lowest shelf a safe zone for kid cups, plastic bowls, or snack baskets you do not mind being handled.
Containers that tidy fast
If you only do one thing after reading this, do this: decant the messy stuff. You do not need a pantry overhaul. You need a few good containers that quiet the visual noise.
Best containers for open shelves
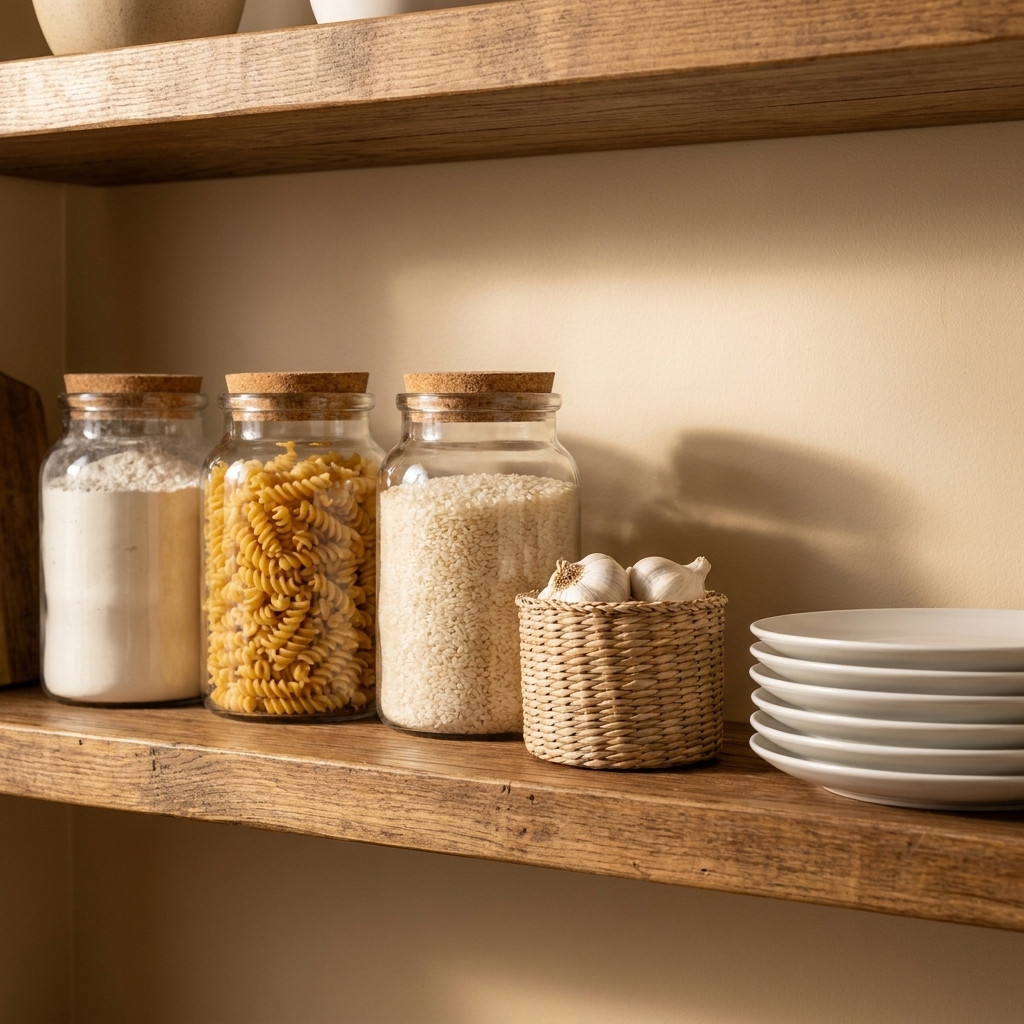
- Clear glass jars for pasta, rice, and baking staples
- Ceramic canisters for coffee and tea
- Woven baskets for small snacks, packets, or dish towels
- Trays to corral oils, spices, or mugs
Quick food-safety note
If you decant staples, label contents and, if it helps your household, add a date and any allergen notes. Use tight seals for flour, sugar, and grains to help deter pests.
My personal bias
I will choose one vintage-ish woven basket every time. It adds warmth and texture in a kitchen full of hard surfaces, and it hides the bits and bobs you do not want to stare at.
Lighting
Open shelves look best with warm, gentle light. If your kitchen lighting feels harsh, the shelves can look busy even when they are beautifully styled.
Easy upgrades
- Under-shelf puck lights or slim LED strips (warm temperature, not blue-white)
- A small lamp on the counter near open shelving if you have space
- Warm bulbs in nearby fixtures to soften the whole scene
Warm light brings out wood tones, ceramics, and textiles, and it helps everything read as intentional.
Maintenance
Open shelves do require a bit more upkeep, but it does not have to be a whole lifestyle.
A simple rhythm
- Weekly: quick dust with a microfiber cloth, especially if you cook often.
- Monthly: pull everything off one shelf, wipe thoroughly, edit anything that has crept in.
- Seasonally: swap in one small change like a different plant pot, a new tea towel color, or a favorite serving platter.
If your shelves are near the stove
Expect a little more film. Choose closed canisters over open bowls, keep fabrics farther from the cooking zone, and plan on a quick wipe-down of the nearest shelf and items every week or two, depending on how often you fry or sauté.
If dust or visual clutter is a dealbreaker
Keep everyday dishes on the lowest, most-used shelves, and reserve the highest shelves for items you can rinse quickly before use. Or go hybrid: one open shelf for the charm, the rest closed cabinetry. Open shelving is not mandatory for a beautiful kitchen.
Safety and install basics
A shelf that looks great but sags, tilts, or feels precarious will never feel relaxing. If you are installing new shelves or reworking old ones, a few basics go a long way.
Quick checks
- Know your load: dishes add up fast. Use brackets and hardware rated for the weight you plan to store.
- Mount into studs when possible: especially for shelves holding plates, bowls, or cookware.
- Mind the depth: deeper shelves hold more but can look cluttered. Too shallow, and plates may not sit securely.
- Keep heavy breakables out of traffic zones: if a shelf sits above a busy prep spot, store lighter items there and put heavy stacks lower.
Common mistakes
Mistake: Everything is the same height
Fix: Add one tall piece, like a pitcher, vase, or utensil crock, and shift stacks so heights step up and down.
Mistake: Too many tiny objects
Fix: Corral them on a tray, or hide them in a basket. Small items need a container home.
Mistake: Too much color everywhere
Fix: Choose one hero color and repeat it two or three times. Let the rest be neutrals.
Mistake: Shelves look cluttered but you need the storage
Fix: Store the overflow in closed cabinets and keep only the best-looking, most-used items out. If you truly need every inch, unify the look with matching containers.
FAQ
How do I style open shelves in a small kitchen?
Go lighter visually: clear glasses, white dishes, and fewer objects per shelf. Use vertical stacks (plates and bowls) instead of spreading items out. One small plant or one pretty pitcher is plenty.
How many items should be on each shelf?
Enough to feel useful, not so many that you lose negative space. As a starting point: two to three main groupings per shelf (like plates, bowls, glasses) plus one accent (plant, art, or a wood board).
What if my shelves are near the stove?
Avoid fabric, porous baskets, and anything you hate washing. Stick to ceramics and glass, and choose items you use often so they get rotated and cleaned naturally. Good ventilation helps, and a vented-to-outside hood is typically more effective at moving grease and moisture out than a recirculating one.
Do open shelves make a kitchen look messy?
They can, but it is not inevitable. The “messy” look usually comes from visual noise: loud packaging, too many mismatched colors, and no negative space. Tighten the palette, add containers, and edit.
A final note
Open shelving is storytelling. It is the little snapshot of your life: the mug you reach for every morning, the bowls that make weeknight dinners easier, the plant that makes the room feel alive. Start with function, build in a calm palette, and then add the personal details slowly. Your shelves can look magazine-level, but more importantly, they will feel like they belong to you.