A former set designer’s guide to making open shelving beautiful and functional, with shelf formulas, color tricks, safety notes, and real-life storage solu...
Havitza Home
8 Ways to Style Kitchen Counters Without Clutter
Keep your kitchen counters beautiful and usable with eight styling moves using trays, cutting boards, canisters, and warm lighting. Practical, clean, and never fussy.

Clara Jenkins
Clara Jenkins is a former theater set designer turned interior styling expert with over a decade of experience transforming everyday spaces into beautiful sanctuaries. Through her work at havitza.com, she shares practical styling tips, accessible furniture layouts, and inspiring color palettes to help anyone create a home they truly love.
Published October 17, 2026
Updated October 17, 2026
Kitchen counters are a little like a stage. They do a lot of heavy lifting, but they also set the mood for the whole home. The trick is styling them like you mean it without turning your prep zone into an obstacle course.
My rule from years designing sets, and then real-life apartments, is simple: corral, elevate, and edit. If an item earns a spot on the counter, it should either help you cook daily or make the room feel calmer (ideally both).
1) Use a tray for a vignette
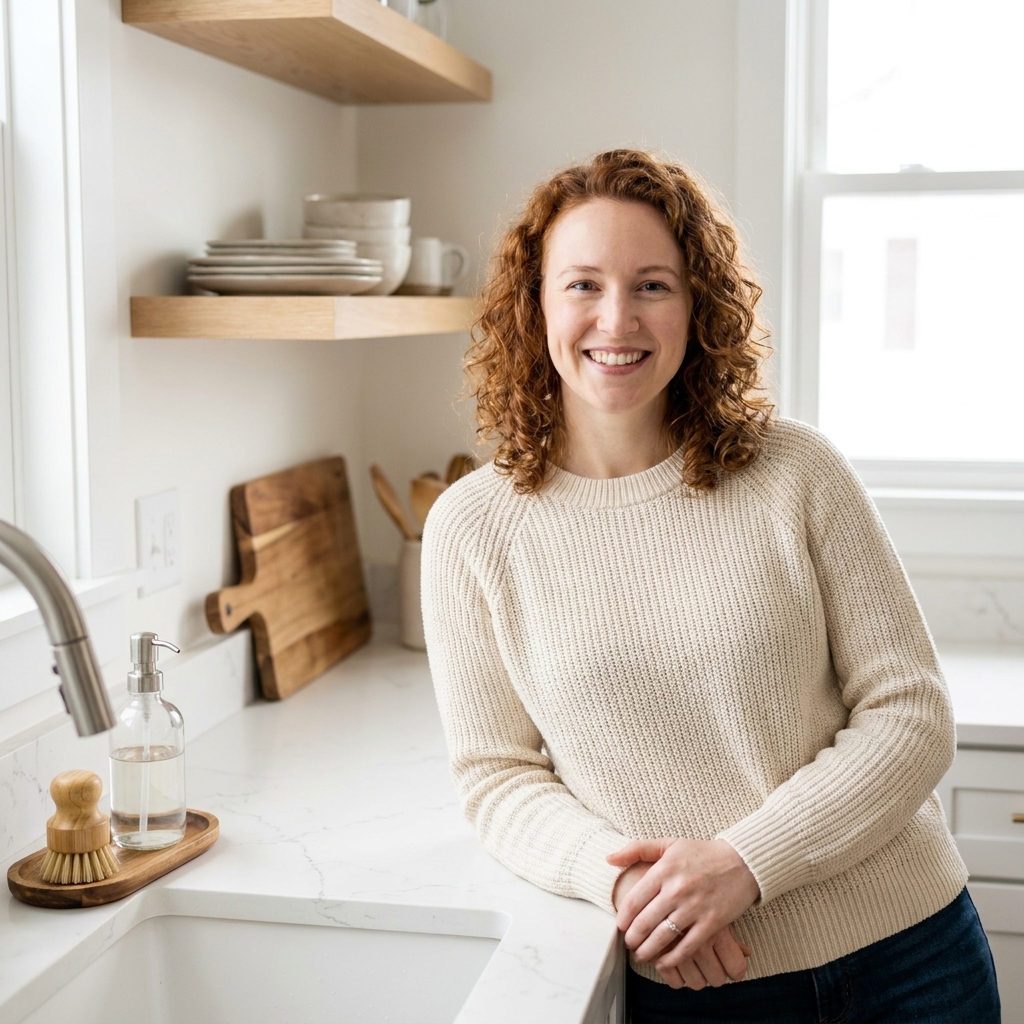
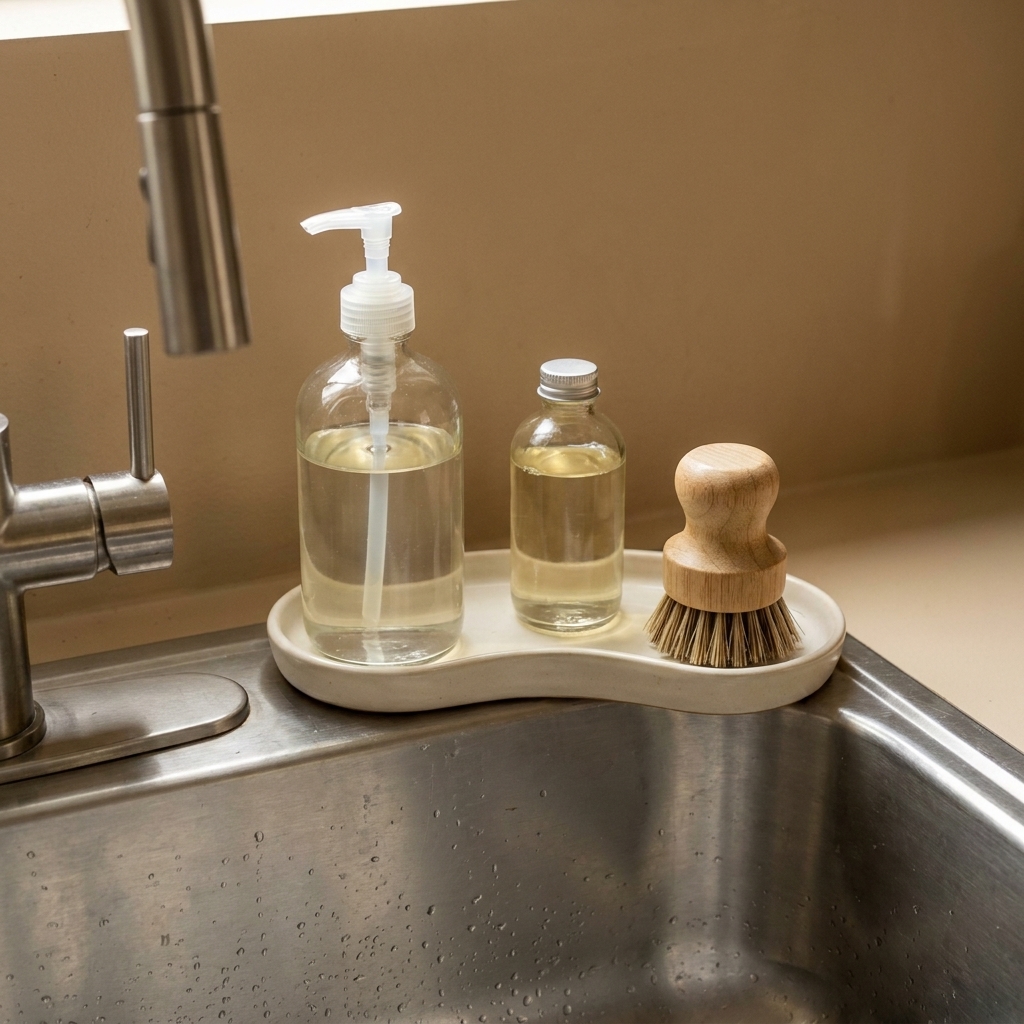
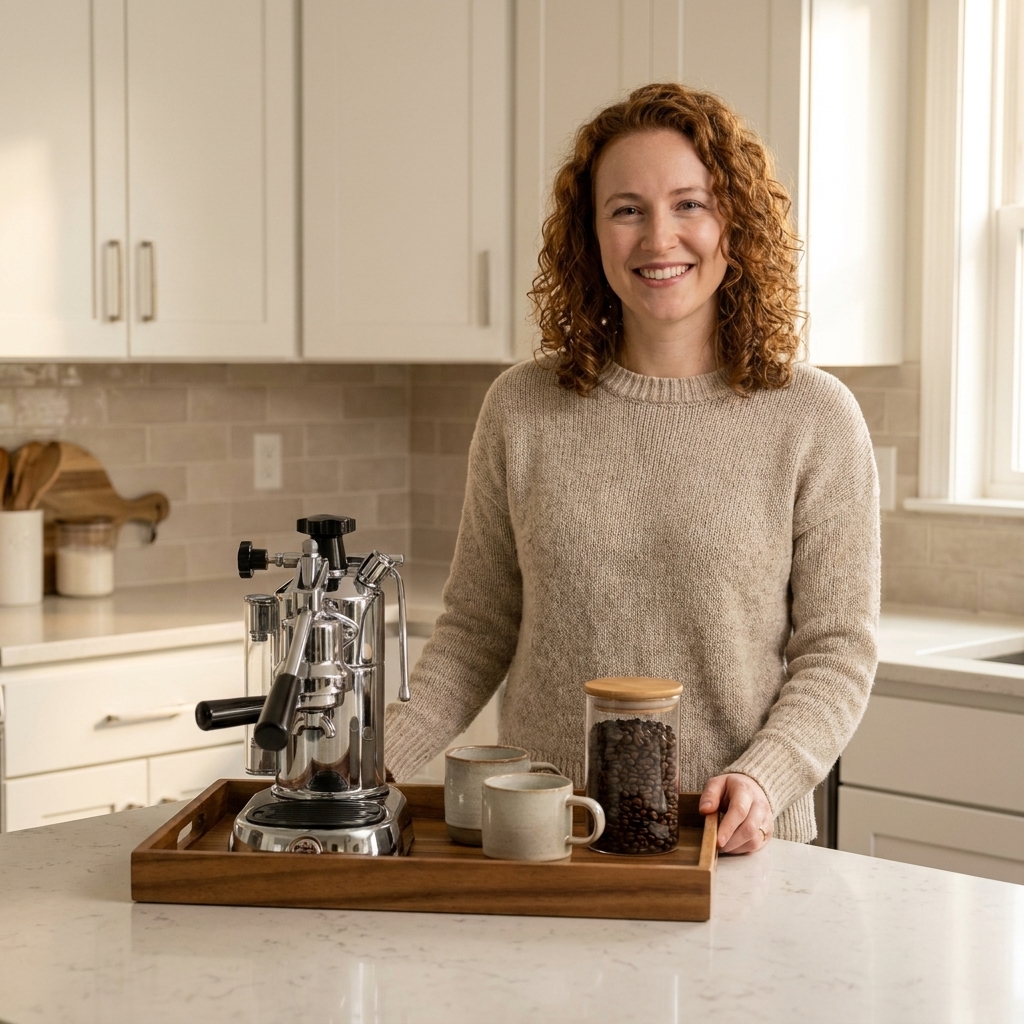
A tray is the fastest way to make a countertop feel intentional. It creates a boundary so your essentials look styled instead of scattered. Think of it as a little set where your everyday items can live neatly.
Where trays work best
- By the sink: hand soap, dish soap, scrub brush, sponge, and maybe a small candle.
- Next to the stove: salt cellar, pepper mill, and olive oil (if you use it daily).
- Coffee station: sugar, stir sticks, mugs, and a small jar of beans.
Clutter-proof tip: Choose a tray that fits the space with at least a couple inches of breathing room around it. If you have to squeeze it in, it will always feel messy.
Safety note: Keep candles and tea towels well away from burners. Counters should look calm, not combustible.
2) Lean one cutting board
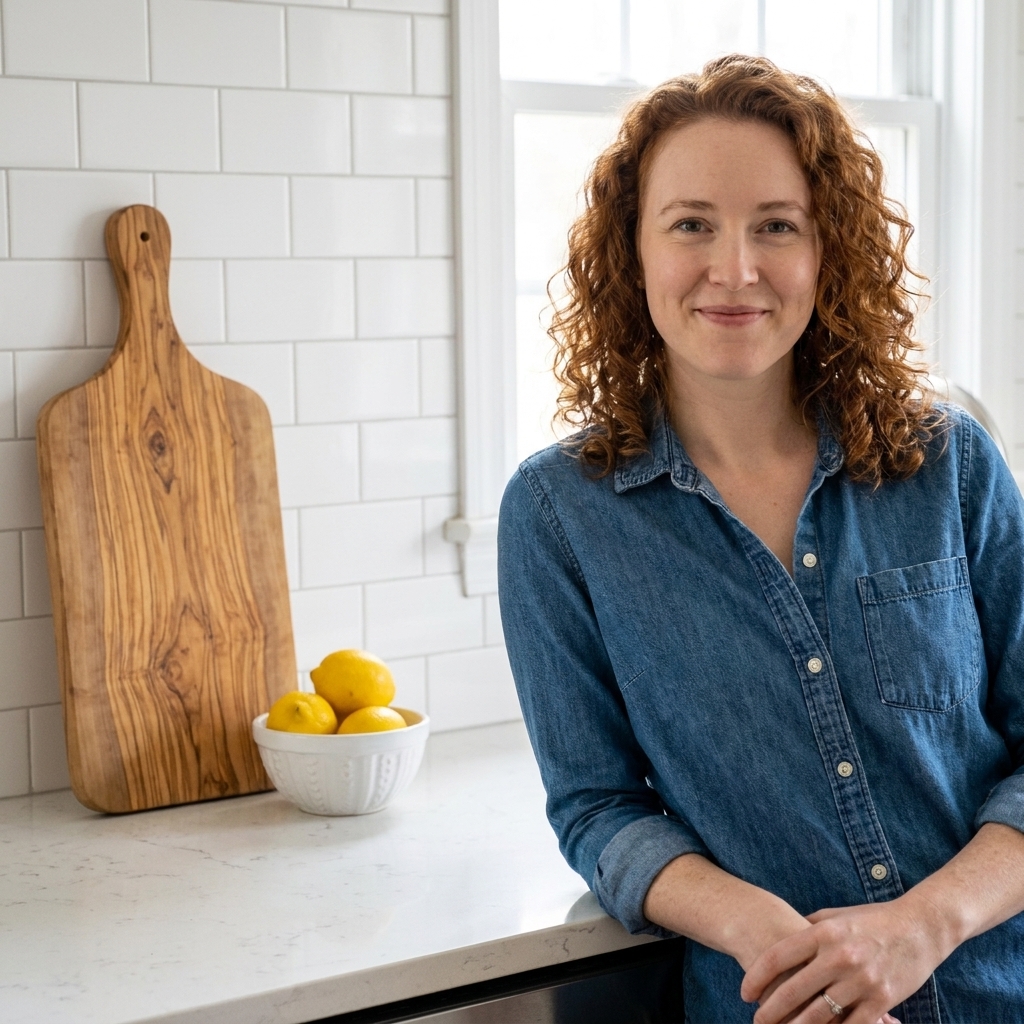
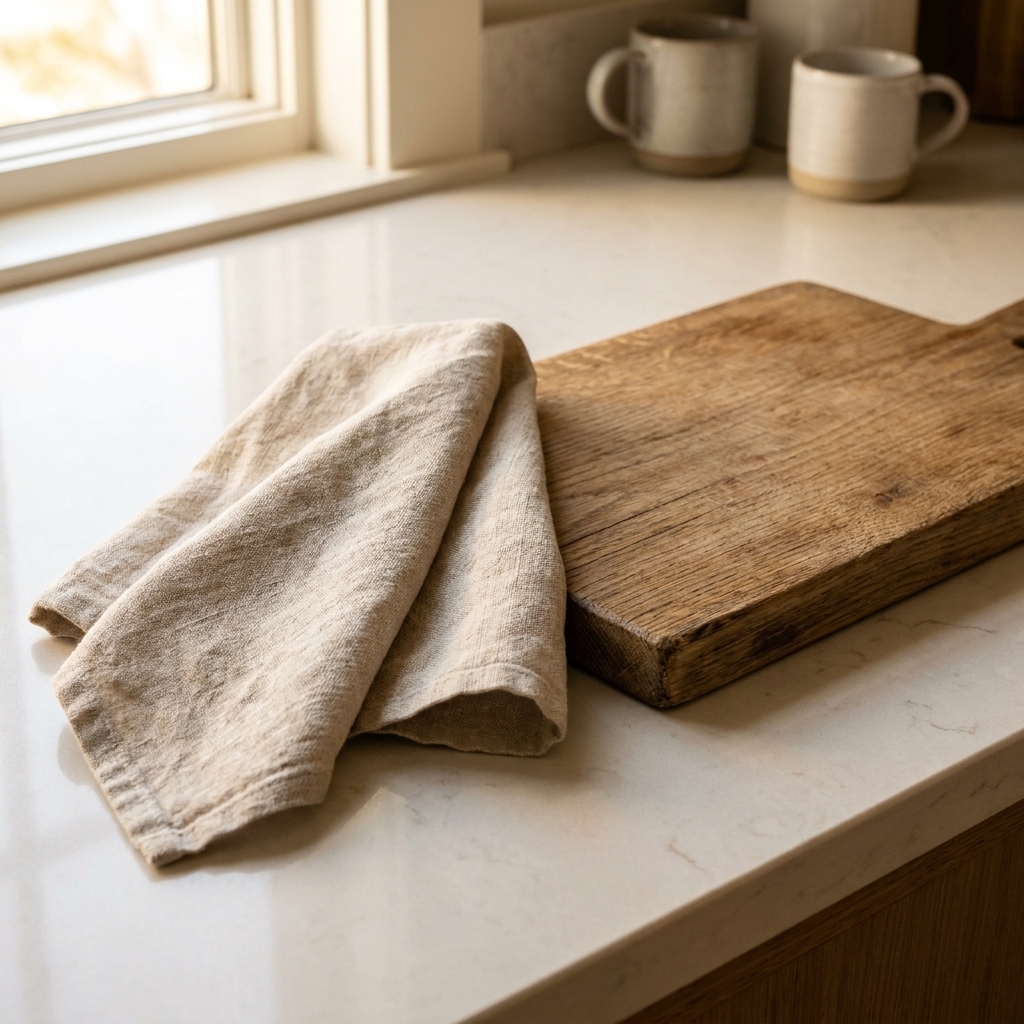
Cutting boards are the unsung heroes of functional styling. They add warmth, texture, and that cozy, cooked-at-home feeling. Lean one board against the backsplash and it reads decorative, but it is also ready for action.
What to look for
- Oversized wood: walnut, acacia, or olive wood for rich grain.
- Simple shapes: a classic rectangle or soft paddle shape feels timeless.
- One hero board: one large statement board looks cleaner than three small ones.
Keep-it-clean tip: If you want multiple boards, stack them by size and keep the group to two max. Anything beyond that starts to feel like a store display.
Care note: Do not leave wood pressed against a constantly wet area. If it lives near the sink, let it fully dry and rotate it off the counter occasionally.
3) Choose useful canisters
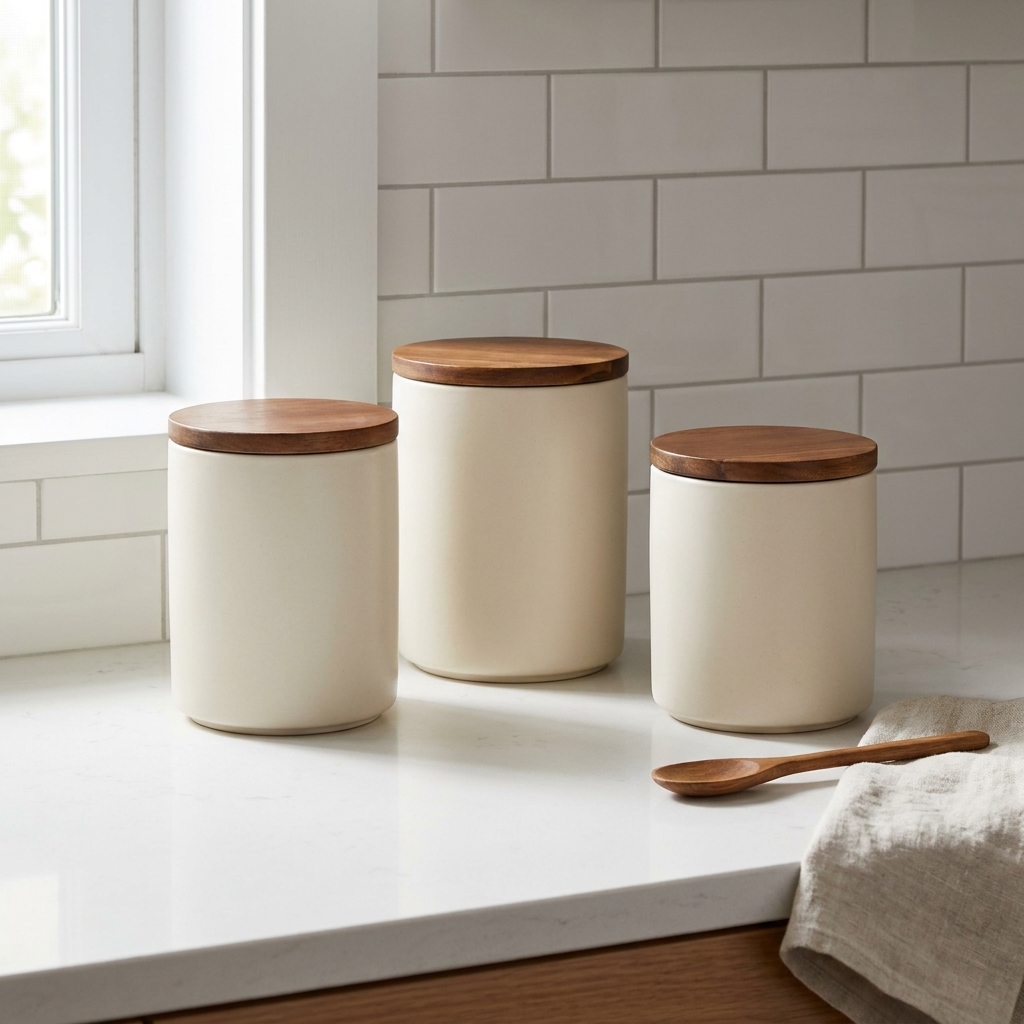
Canisters can be gorgeous, but they only work if they reduce visual noise. The best canisters replace messy packaging and keep frequently used staples within reach.
Best items to decant
- coffee beans or grounds
- tea bags
- sugar
- flour (if you bake often)
- kosher salt
My styling sweet spot: two to three canisters in the same material family (all ceramic, or all glass with wood lids). Matching does not have to mean identical, but it should feel related.
Pro tip: Labeling is optional if you choose translucent glass. If you go opaque ceramic, keep contents obvious by storing only your true everyday items.
4) Set clear counter zones
In theater, we block scenes so the action makes sense. Kitchens need the same logic. Your counters should have clear zones, with each zone supporting how you move and cook.
Easy zones for most kitchens
- Prep zone: the clearest stretch of counter, ideally near the fridge and sink.
- Wash zone: sink items contained on a tray or caddy.
- Heat zone: stove-side essentials only.
- Beverage zone: coffee or tea grouped together.
Clutter-proof tip: Leave at least one uninterrupted landing strip of counter space (even if it is small). This is what makes the whole kitchen feel functional and calm.
Small-kitchen tweak: If your counters are tiny, move the extras vertical. A wall rail, magnetic knife strip, or under-cabinet mug hooks can buy you real prep space without feeling like clutter.
5) Add one tall piece
Clutter often happens when everything sits at the same height. One taller object adds visual rhythm and makes a counter vignette feel finished. The key is choosing one.
Good height-builders
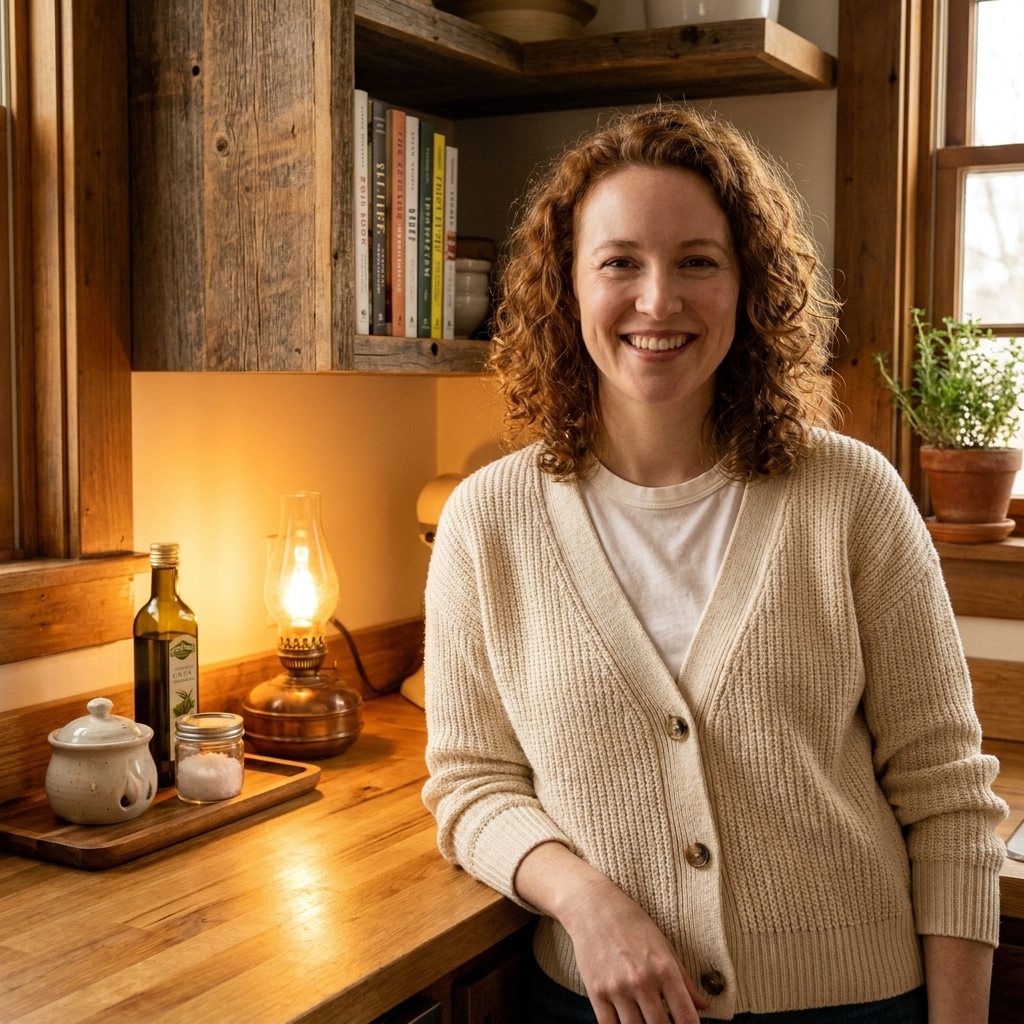
- a small lamp with a warm bulb
- a tall pepper mill
- a slim vase with eucalyptus or herbs
- a utensil crock (only if you truly use it daily)
Quick fix: Keep the tall piece slim. Bulky items steal prep space and make counters feel crowded even when they are clean.
6) Use one grab jar
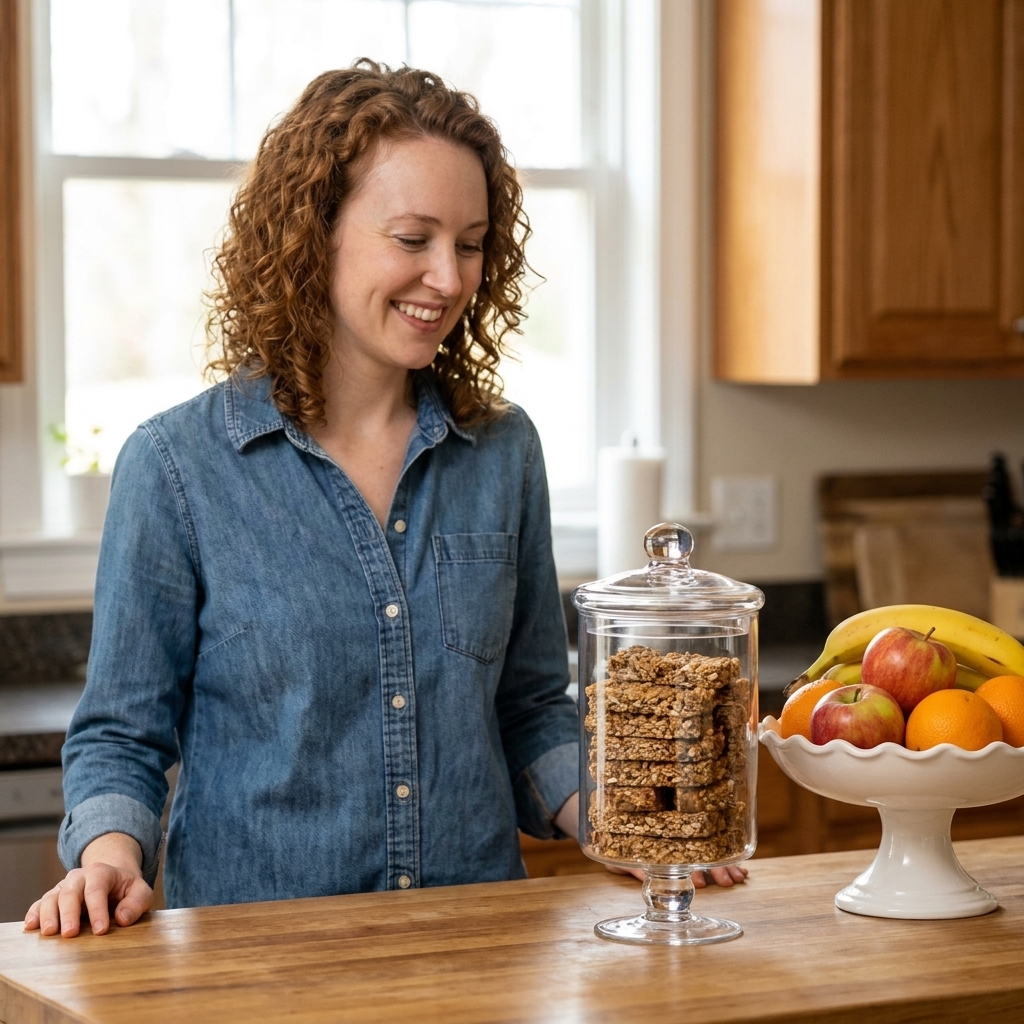
If you have kids, roommates, or simply snack like a normal human, counters can become a pile of wrappers fast. Instead of fighting it, give snacks a designated home that looks good.
What works best
- a lidded glass jar for granola bars or tea packets
- a shallow bowl for fruit
- a small basket for napkins or lunchbox items
Keep-it-neat tip: Keep this container half full on purpose. Overfilling looks chaotic, and it invites more items to pile up around it.
7) Let one appliance live out
Appliances are often the reason counters feel busy. If you use something daily, it is allowed to live out, but give it a plan. Your goal is to make one appliance feel intentional, and store the rest.
How to reduce appliance noise
- Pick a side: park the toaster or espresso machine consistently in one spot.
- Match colors: black, white, or stainless reads calmer than a rainbow of finishes.
- Give it a base: set it on a tray or next to a cutting board so it feels anchored.
Set designer tip: Manage cords. A simple cord clip or routing the plug behind the appliance makes a bigger visual difference than you would think.
Safety note: Do not wedge heat-producing appliances (like air fryers, toaster ovens, and some coffee makers) into tight corners or under low cabinets. Leave breathing room so vents can do their job.
8) Add one soft element
Kitchens can skew hard and shiny. A single soft element balances all that stone and steel and makes the space feel lived-in in the best way.
Soft elements that stay practical
- a folded linen tea towel draped over an oven handle (or neatly folded on a tray)
- a small wooden bowl
- a vintage-inspired runner if you have long counters or an island
Clutter-proof tip: Choose one tactile texture and repeat it once. For example, a linen towel and a linen bread bag. Repetition looks curated, not chaotic.
Hygiene note: If you keep a towel on display, swap it out often and launder it regularly. A fresh towel reads intentional; a tired one reads clutter.
A quick counter reset
When your kitchen starts feeling visually loud, do this quick reset (I do it before guests, but also before my own brain can relax). It takes about a minute or two once you get the rhythm:
- Put anything that does not belong in the kitchen into a basket and relocate it later.
- Clear one prep strip completely.
- Group sink items on a tray.
- Stand up your hero cutting board.
- Wipe the counters and turn on one warm light source.
That is it. No perfection required, just clearer surfaces and calmer sightlines.
Countertop styling FAQ
How many items should be on a kitchen counter?
As a rule of thumb, I aim to keep about 70 to 80 percent of the counter surface visually open. Practically, that usually means two to four grouped moments (like a sink tray, a cutting board, and a small canister set) rather than lots of individual objects.
Is it okay to keep oils and spices on the counter?
Yes, if you use them daily and you keep the group small. Heat and light can shorten an oil’s shelf life, so keep it away from direct sun and not parked right beside the range or oven. Store backups in a cabinet, and keep only your everyday bottle out.
What is the easiest way to make counters look expensive?
Reduce packaging, add one warm wood element (like a cutting board), and use a coordinated canister set. Clean lines plus natural texture reads elevated every time.
Any tips for porous stone counters?
If you have marble or other porous stone, treat trays and coasters like your best friends. They help prevent water rings, soap marks, and oil drips from becoming permanent little memories.
What if my countertop pattern is already busy?
Let the surface be the star. Busy granite or heavy veining looks best with fewer items, tighter groups, and more open space. Simple quartz or butcher block can handle a bit more contrast without feeling chaotic.